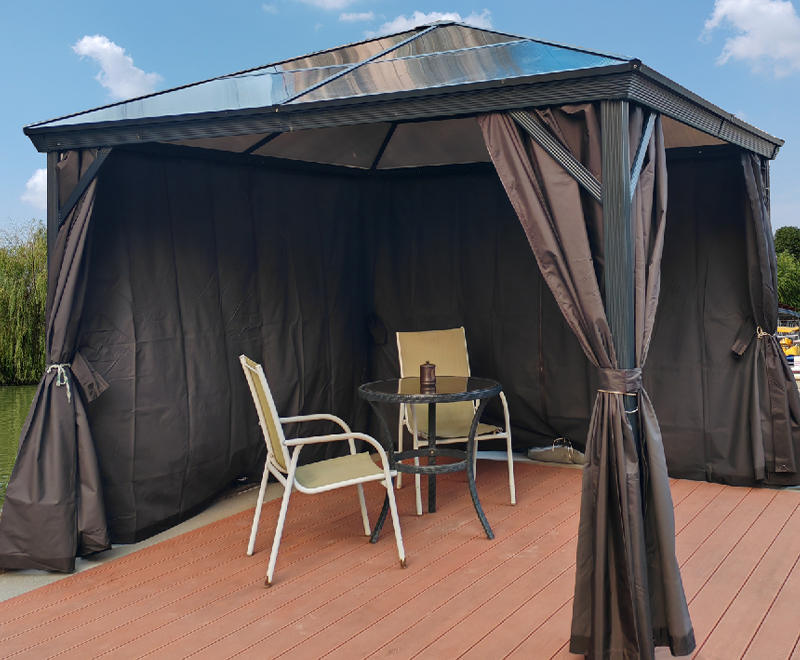
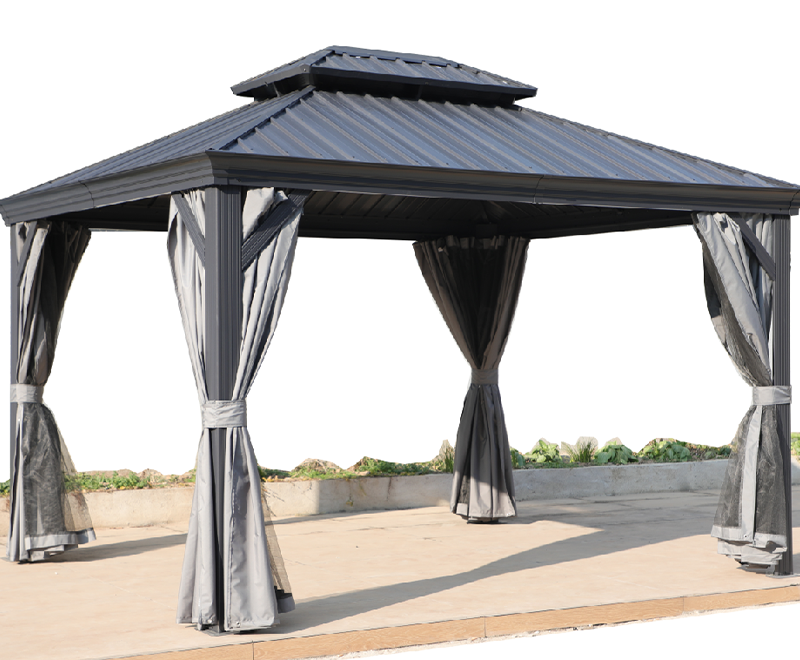
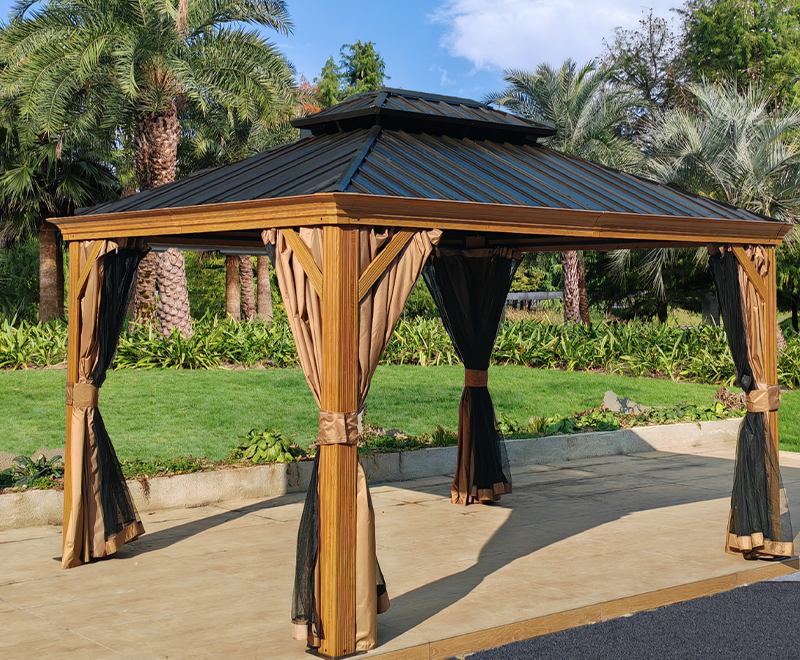
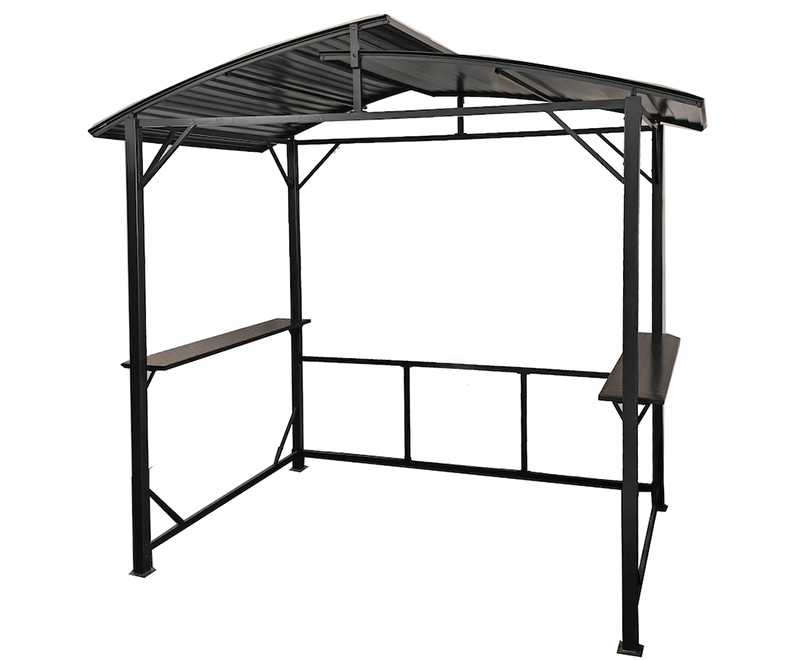
The most common mistakes when installing an octagonal solarium fall into five categories: inadequate foundation work, wrong glazing selection, poor ventilation planning, underestimating structural complexity, and skipping permits. Any one of these errors can turn a dream sunroom into a costly, uncomfortable, or legally problematic structure. Because an octagonal layout introduces eight-sided geometry that demands precise angular framing, connection detailing, and load distribution, the margin for error is narrower than a standard rectangular addition. This guide identifies each critical mistake and shows you exactly how to avoid it.
Mistake 1: Underestimating the Foundation Requirements
The foundation is the most consequential decision in any solarium installation — and the one most often minimized to cut costs. An octagonal solarium places loads at eight perimeter points rather than four corners, which changes how forces are distributed into the ground and what foundation type is appropriate.
Why Octagonal Load Distribution Matters
A square or rectangular solarium transfers its weight to four corner footings. An octagonal structure spreads that same weight across eight points — but the angles between panels mean that lateral forces (wind load, thermal expansion) are resolved differently at each junction. If footings are sized for a simple rectangle and applied to an octagon, corner columns carry disproportionately higher loads, leading to differential settling that cracks glazing frames and breaks sealant lines within 2–5 years.
What to Do Instead
- Commission a soil bearing capacity test before specifying footing depth and diameter. Expansive clay soils require deeper footings — typically 600–900 mm below frost line — to prevent heave from cracking the octagonal frame.
- Use a continuous perimeter beam or ring footing rather than isolated pad footings wherever possible. This equalizes settlement across all eight sides and prevents the racking that isolated footings allow under uneven load.
- Account for the slab or deck weight independently from the glazed superstructure. Many installers spec the footing for the glass and frame alone, then add a concrete slab that adds 300–400 kg per square meter — a load the original footing calculation never included.
Mistake 2: Choosing the Wrong Glazing for the Climate
Glazing selection is where most homeowners make their single most expensive long-term error. The glass or polycarbonate chosen determines thermal performance, UV protection, condensation behavior, and acoustic comfort — and in an octagonal solarium with eight glazed panels plus a roof, the wrong choice is multiplied across the entire envelope.
Common Glazing Mistakes
- Using single-pane glass to reduce cost: Single glazing has a U-value of approximately 5.8 W/m²K — nearly five times worse than a quality double-glazed unit (1.1–1.4 W/m²K). In a solarium exposed on all sides, this translates to heating bills that can exceed the cost of upgrading the glass within just two winters.
- Ignoring solar heat gain coefficient (SHGC): A high-SHGC glass that feels ideal in winter turns the solarium into an uninhabitable greenhouse in summer. For most temperate climates, SHGC between 0.25 and 0.40 with a low-E coating strikes the right balance between winter solar gain and summer overheating.
- Using standard polycarbonate on the roof: Twin-wall polycarbonate yellows within 5–8 years under UV exposure and creates significant rain noise amplified by the octagonal roof geometry. Specify UV-coated multiwall polycarbonate (minimum 25 mm thickness) or laminated safety glass for the roof panels.
- Mismatching glass thickness to panel size: Octagonal solariums often feature wider individual panels than rectangular designs. A panel width exceeding 900 mm requires a minimum glass thickness of 6 mm toughened for the outer pane of a double-glazed unit — thinner glass deflects under wind load, stresses the edge seal, and accelerates seal failure.
| Glazing Type |
U-Value (W/m²K) |
Best Climate Use |
Typical Lifespan |
| Single pane glass |
5.6–5.8 |
Mild climates only |
20+ years (frame fails first) |
| Standard double glazing |
2.6–2.8 |
Temperate climates |
15–20 years (seal life) |
| Low-E double glazing |
1.1–1.4 |
Cold to temperate |
20–25 years |
| Triple glazing (argon-filled) |
0.6–0.8 |
Cold / harsh climates |
25–30 years |
| Multiwall polycarbonate (roof) |
1.5–2.0 |
All climates (budget) |
10–15 years |
Table 1: Glazing options for octagonal solariums — thermal performance and expected service life
Mistake 3: Failing to Plan for Adequate Ventilation
An octagonal solarium with eight glass walls and a glazed roof is essentially a solar collector. Without a deliberate ventilation strategy, interior temperatures can reach 45–55°C (113–131°F) on summer afternoons — rendering the space unusable for up to six months of the year in warm climates.
The Stack Effect Opportunity
The octagonal roof geometry creates a natural opportunity for stack effect ventilation — where hot air rising to the apex of the roof is vented out through ridge or high-level openings, drawing cooler air in through low-level vents or openable panels at the base. To work effectively, the height differential between inlet and outlet must be at least 1.5–2.0 meters, and the outlet area must equal or exceed the total inlet area. Many installations include ridge vents but undersize the lower inlet openings, strangling the airflow and defeating the system.
Ventilation Mistakes to Avoid
- No openable roof panels: Fixed roof glazing with no ventilation capability is the most common and most serious ventilation error. At minimum, 15–20% of the roof area should be openable — either manually or via automatic thermal actuators that open at a preset temperature (typically 22–25°C).
- Relying solely on wall vents: Horizontal cross-ventilation from wall openings alone is insufficient in an octagonal plan because the symmetric geometry creates airflow dead zones in panels not aligned with the prevailing wind direction. Combine wall vents with high-level roof extraction for effective year-round control.
- Forgetting condensation management: In winter, warm moist interior air contacting cold glass surfaces produces condensation that runs down frames and pools on floors. Trickle vents in the frame profiles — providing 4,000–8,000 mm² of background ventilation per panel — prevent condensation buildup without requiring windows to be opened in cold weather.
Mistake 4: Getting the Angular Geometry Wrong
This is the mistake most unique to octagonal solariums and the one that causes the most expensive remediation work. Each internal angle of a regular octagon is 135°, meaning every frame connection, sill junction, and roof panel meet at non-right angles that require precise cutting and custom fabrication.
Where Angular Errors Compound
- Frame mitre cuts: Aluminium or timber frame members meeting at 135° require a 22.5° mitre cut on each member. A 1° error in this cut produces a visible gap at the corner and — more critically — prevents the weatherseal from compressing evenly, creating a permanent leak path.
- Roof panel geometry: The octagonal roof consists of eight trapezoidal panels converging at a central point or ridge. Each panel must be cut to exact angular tolerances — an error of even 2 mm in panel width accumulates across eight panels to produce a 16 mm gap or overlap at the apex, which cannot be hidden or sealed without rebuilding the roof structure.
- Base plate layout: Setting out the octagonal base plate on site requires precise geometric calculation, not estimation. A common error is stepping off equal side lengths without verifying that the diagonals are equal — the two key diagonals of a regular octagon must be identical in length. A 10 mm error in base layout makes the entire superstructure non-square and causes cascading fit-up problems at every subsequent level.
How to Avoid Geometric Errors
- Use a laser level and digital angle finder for all base layout work — tape measures alone introduce cumulative errors across eight sides.
- Source frame components from a manufacturer who pre-cuts and pre-drills all mitre angles in a factory environment with CNC equipment — site-cut mitres on 135° joints rarely achieve the accuracy required for weathertight performance.
- Conduct a dry assembly check of all frame components before any sealant is applied. Every connection point should close with hand pressure only — if any joint requires forcing, the component geometry is incorrect and must be corrected before final assembly.
Mistake 5: Skipping or Misreading the Permit Process
A significant number of octagonal solarium installations proceed without the correct permits — either because the homeowner assumes the structure qualifies as a "permitted development" or because a contractor suggests that inspectors rarely notice. Both assumptions carry serious financial and legal consequences.
In most jurisdictions, a permanent glazed structure attached to a residential property requires building permit approval, zoning compliance review, and in many cases, structural engineer sign-off. An octagonal solarium that exceeds permitted development thresholds — typically structures over 10–15 square meters in floor area or within a specified setback distance from property boundaries — triggers a full planning application process that must be completed before groundwork begins.
Consequences of Skipping Permits
- Forced demolition orders: Unpermitted structures discovered during a property sale survey or neighbor complaint can result in mandatory removal at the homeowner's cost — regardless of how well the structure was built.
- Insurance voidance: A home insurance policy may be voided for claims arising from or related to an unpermitted structure. A fire originating in the solarium, or a personal injury sustained inside it, could result in a denied claim if the structure was built without required approvals.
- Sale complications: Conveyancing solicitors routinely flag unpermitted additions during property transactions. Rectifying a permit issue at the point of sale — under time pressure — is significantly more expensive than obtaining approval before construction.
Mistake 6: Neglecting the Connection to the Main House
The junction between the octagonal solarium and the existing house wall is one of the most technically demanding details in the entire installation — and one of the most commonly executed poorly. This connection must handle three simultaneous challenges: weatherproofing, differential thermal movement, and structural load transfer.
Thermal Movement at the Junction
An aluminium solarium frame expands and contracts with temperature changes at a rate of approximately 23 mm per 10 meters per 100°C of temperature change. A 4-meter wide solarium connection detail in a climate with a 60°C seasonal temperature swing moves approximately 5.5 mm seasonally. A rigid silicone seal without a proper movement joint will fail within 3–5 years as the sealant is repeatedly stressed beyond its elastic limit.
What a Correct Junction Detail Includes
- A purpose-designed flashing system that overlaps the existing house roof covering by at least 150 mm and is mechanically fixed independently of the solarium frame — so that frame movement does not displace the flashing.
- A flexible movement joint at the frame-to-wall connection using a low-modulus neutral-cure silicone rated for at least ±25% movement. High-modulus silicone — which is cheaper and more commonly stocked — cracks under the thermal movement typical of solarium installations.
- A damp-proof course (DPC) or through-wall flashing at the base of the connection to prevent rising damp from migrating from the solarium slab into the house wall cavity.
Mistake 7: Overlooking Electrical and Drainage Planning
Many octagonal solariums are planned as pure architectural features with electrical and drainage needs treated as afterthoughts — then retrofitted at considerable extra cost once the structure is complete. Both systems are far easier and cheaper to install during the build phase than after glazing is complete.
Electrical Rough-In Requirements
- Install conduit runs in the slab or base frame before pouring or laying the floor finish. Attempting to run electrical cables in a completed octagonal solarium requires lifting floor finishes or surface-mounting trunking that detracts from the visual quality of the space.
- Plan socket and switch positions on the frame uprights before glazing is installed — frame-integrated electrical boxes must be specified at the fabrication stage for aluminium frame systems.
- Include a dedicated circuit for heating and cooling from the outset. A solarium added to an existing ring main without a dedicated circuit frequently trips breakers when heating loads are combined with other household demand.
Roof Drainage Design
The eight-panel octagonal roof concentrates rainwater into eight valley gutters that converge at the perimeter eave. Each valley must be sized to handle the peak rainfall intensity for the installation location — typically 75 mm/hour in temperate climates, up to 150 mm/hour in subtropical regions. Undersized gutters overflow at the valley junctions, forcing water behind the frame and into the structure. A minimum gutter width of 100 mm with a 1:60 fall to the downpipe is the standard specification for octagonal solarium roof drainage in moderate rainfall zones.
A Pre-Installation Checklist to Avoid Every Major Mistake
Before breaking ground on an octagonal solarium installation, verify that every item on this checklist has been addressed:
| Category |
Item to Verify |
Who Is Responsible |
| Foundation |
Soil bearing test completed; footing depth below frost line confirmed |
Structural engineer |
| Glazing |
U-value and SHGC specified for local climate; roof panel type confirmed |
Supplier / designer |
| Ventilation |
Openable roof area ≥ 15%; trickle vents specified in frame profiles |
Designer / installer |
| Geometry |
Base layout verified with laser level; dry assembly completed before sealing |
Installer |
| Permits |
Building permit and zoning approval in hand before groundwork begins |
Homeowner / designer |
| House junction |
Flashing system designed; low-modulus silicone and DPC specified |
Installer |
| Electrical |
Conduit rough-in in slab; dedicated heating/cooling circuit planned |
Electrician |
| Drainage |
Valley gutter sizing confirmed for local peak rainfall; fall to downpipe ≥ 1:60 |
Designer / installer |
Table 2: Pre-installation checklist for octagonal solarium projects — critical items by category
The cost of addressing every item on this checklist before construction begins is a fraction of the cost of correcting any one of these mistakes after the structure is complete. The most expensive octagonal solarium repair is always the one that could have been prevented at the planning stage.



 English
 中文简体
中文简体 Français